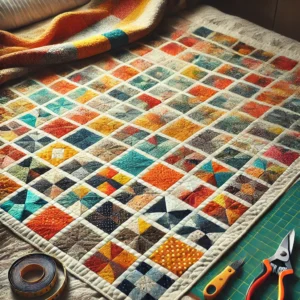
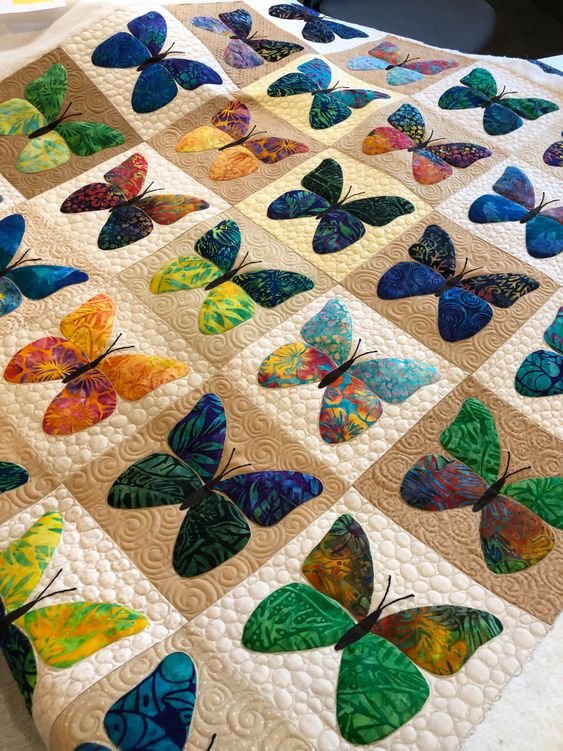
Are you looking to create a cozy quilt that adds warmth and charm to your home? If you’re new to quilting, don’t worry—this beginner-friendly patchwork quilt tutorial will guide you through every step of the process. By the end of this tutorial, you’ll have your very own patchwork quilt, ready to snuggle up with or display proudly.
In this guide, we will cover easy quilting techniques, helpful tips, and the steps to create a cozy quilt pattern that you’ll be proud of. Let’s get started!
Materials Needed
Before diving into the quilting process, make sure you have all the necessary supplies:
- Fabric: Choose a variety of fabrics for your quilt. You can use scraps or buy new fabrics. A good rule of thumb is to pick 3-5 different fabrics in coordinating colors or patterns.
- Rotary Cutter and Mat: For precise cutting of fabric pieces.
- Quilt Ruler: To ensure your cuts are accurate.
- Thread: Choose a color that matches or contrasts with your fabric.
- Needle: Make sure it’s suitable for quilting.
- Quilt Batting: This is the layer of insulation in between the quilt top and backing.
- Backing Fabric: The fabric that goes on the back of the quilt.

Step-by-Step Guide to Creating Your Patchwork Quilt
Step 1: Cutting Your Fabric
Start by cutting your fabric into squares. For this beginner quilting project, the pieces don’t need to be too large. Aim for 5-inch squares for a simple patchwork design. You can adjust the size based on your preferences. Use your rotary cutter, mat, and ruler to ensure the pieces are cut accurately.
If you prefer, you can also buy pre-cut fabric squares, commonly known as charm packs, which are ready to use in quilting projects. This can save you time and effort when creating your cozy quilt.
Step 2: Arranging Your Patchwork Squares
Lay out your cut squares on a flat surface, arranging them in rows. Don’t worry about the order just yet—just make sure that the colors and patterns are evenly distributed. Play around with different arrangements until you are happy with the look.
A simple patchwork design alternates colors, but you can mix and match patterns as you like. Once satisfied with the arrangement, take a photo to remember the layout before you start sewing the pieces together.
Step 3: Sewing the Squares Together
Now, it’s time to start piecing your quilt top together. Take two squares and place them right sides together. Use a ¼-inch seam allowance and sew along the edge. Repeat this process for all the squares in a row.
Once you’ve sewn all the squares in a row, press the seams open with an iron to ensure the fabric lies flat. After you’ve finished one row, start sewing the rows together. Continue this process until your entire quilt top is sewn together.
Step 4: Adding the Quilt Batting and Backing
After assembling your patchwork quilt top, it’s time to add the quilt batting and backing fabric. Lay the backing fabric on a flat surface, right side down, and then add the quilt batting on top. Finally, place the quilt top on top of the batting, right side up.
Smooth out all the layers to ensure there are no wrinkles or bumps. You can pin the layers together or use fabric basting spray to hold everything in place while you sew.
Step 5: Quilting the Layers Together
Now comes the fun part—quilting! This step involves sewing through all three layers (quilt top, batting, and backing) to hold them together. You can quilt by hand or use a sewing machine. For a simple and easy quilting pattern, sew along the seams of the squares, creating a grid-like design.
If you prefer a more decorative pattern, you can stitch free-motion quilting or even follow the lines of the squares with diagonal lines for added flair. Just remember to sew slowly and carefully to maintain an even stitch throughout.
Step 6: Trimming the Edges
Once you’ve finished quilting, trim any excess batting and backing fabric from the edges of the quilt. Be sure to leave a small border around the quilt top, making it easier to bind the edges later.
Step 7: Binding Your Quilt
The final step in creating your cozy patchwork quilt is binding the edges. To do this, cut strips of fabric for the binding (usually 2.5-inch-wide strips). Fold the strips in half and sew them around the edge of the quilt, making sure to fold the corners neatly. You can hand-stitch the binding for a more polished look or use a machine to sew it in place.
Once your binding is complete, press the quilt one last time, and your cozy patchwork quilt is ready to use!
Final Thoughts
Congratulations! You’ve just completed your cozy patchwork quilt. This beginner quilting guide took you through each step, from cutting fabric to binding the edges. With this easy quilting project, you’ve learned basic skills that can be used to create many other quilts in the future.
Patchwork quilt patterns are timeless and versatile, and you can experiment with different colors, sizes, and fabric types to create endless variations. Whether you’re snuggling up with your new quilt or giving it as a gift, you can take pride in knowing that you made it yourself!
Now that you’ve mastered this cozy quilt, feel free to explore other quilting projects. The world of quilting is vast, and the more you practice, the more creative and confident you’ll become in your quilting skills. Happy quilting!


