
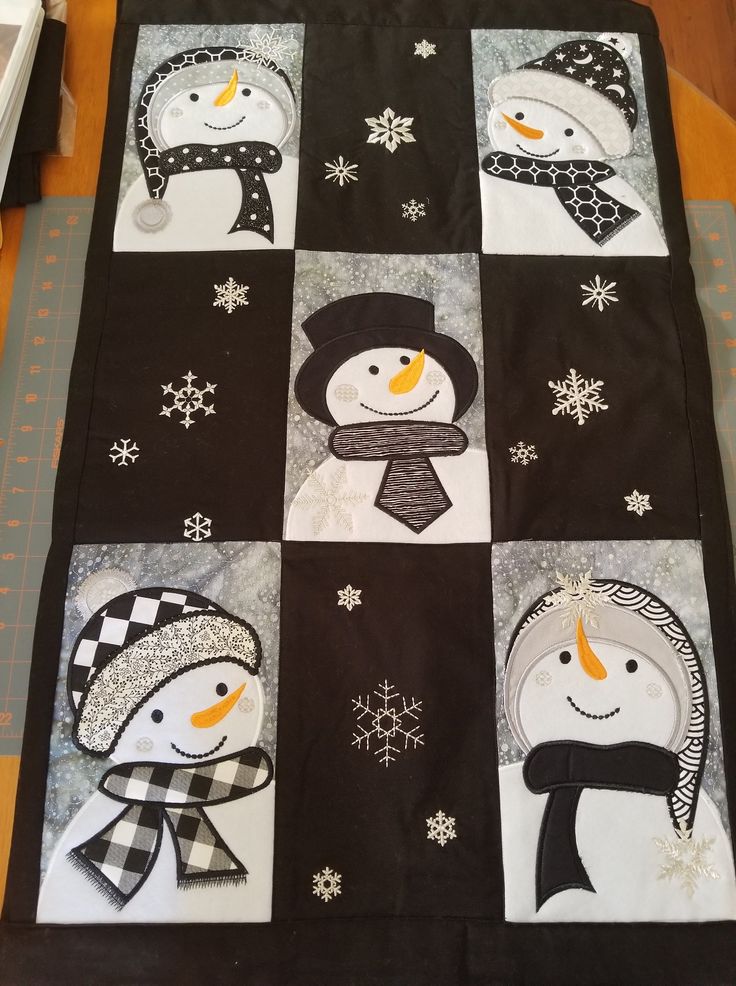
Creating a snowman quilt from fabric scraps can be a delightful project, especially during the winter months.
This guide will walk you through a simple process, making it suitable for beginners who want to combine creativity and sustainability. Utilizing leftover fabric not only reduces waste but also allows for unique and personalized designs.
Let’s dive into the materials needed and the step-by-step process for crafting your own snowman quilt.
Materials Needed
- Fabric Scraps: Gather a variety of fabric scraps in different colors, particularly whites, blues, and any additional colors you desire for accessories (such as orange for the carrot nose).
- Quilt Batting: A lightweight batting material to provide warmth and softness to your quilt.
- Backing Fabric: A piece of fabric for the back of your quilt, which could be a solid color or a fun print.
- Thread: Choose a thread color that matches your fabrics.
- Quilting Tools: Scissors or a rotary cutter, quilting ruler, and a cutting mat.
- Sewing Machine: For stitching your quilt pieces together.
- Iron: To press the fabric and seams flat as you work.
Step-by-Step Guide
Step 1: Design Your Snowman
Begin by sketching a simple design for your snowman quilt. Decide on the size of your quilt and how many snowmen you’d like to include. A typical design might feature three stacked snowmen. Don’t forget to consider elements such as scarves, hats, and buttons.
Step 2: Prepare Fabric Pieces
- Cut your Fabric: Using your design as a guide, cut your fabric scraps into the necessary shapes for the snowman. For example:
- Three circles for the body (a larger bottom circle, a medium middle, and a smaller top for the head).
- Additional pieces for accessories like scarves, hats, and buttons.
- Organize your Pieces: Lay out the fabric pieces on a flat surface to visualize the arrangement.
Step 3: Assemble the Quilt Top
- Sew the Snowman Pieces: Start with the larger body pieces. Place them right sides together and sew around the edges, leaving a small opening for turning. Turn the piece inside out and press flat with an iron.
- Layer Your Components: Stack the body parts of the snowman, from bottom to top, and sew them together. Attach any additional pieces like the hat and scarf at this stage.
- Add Details: Use fabric paint or stitched embroidery to add facial features, buttons, or any other decorative element to your snowmen.
Step 4: Create the Quilt Sandwich
- Lay Out the Batting: On a flat surface, lay down your quilt batting.
- Add the Backing Fabric: Place your backing fabric over the batting, right side down.
- Add the Quilt Top: Finally, place your completed snowman quilt top (right side up) on top of the backing.
Step 5: Baste the Quilt
To hold everything in place, baste the layers together. You can use safety pins or a temporary adhesive spray to secure the layers while sewing.
Step 6: Quilt the Layers
Using your sewing machine, quilt through all layers. You can choose simple lines or a more intricate design like stippling. Focus on areas around the snowmen and their accessories to add dimension.
Step 7: Trim and Bind
- Trim the Edges: Neatly trim the edges of the quilt to ensure all layers are even.
- Create the Binding: Cut strips of fabric for the binding. Fold and iron them in half lengthwise. Sew the binding to the edges of the quilt, folding it over to the back and securing it in place.
Step 8: Final Touches
Iron the quilt to smooth out any wrinkles and give it a finished look. Trim any loose threads and make sure all binding is securely sewn.
Conclusion
Congratulations! You have created a charming snowman quilt from fabric scraps! This project not only showcases your sewing skills but also adds a warm touch to your winter decor. This quilt can serve as a lovely gift or a delightful addition to your home during the holiday season. Enjoy your crafting adventure, and happy quilting!