
Crocheting a granny square blanket is a classic and rewarding project for beginners in the world of crochet. Granny squares are versatile and can be combined to create blankets, throws, or even garments.
In this article, we’ll provide a step-by-step guide and free crochet pattern for beginners to make their own cozy granny square blanket.
With a few basic stitches and some yarn, you’ll be on your way to creating a beautiful and timeless piece that’s perfect for snuggling up with on chilly nights.
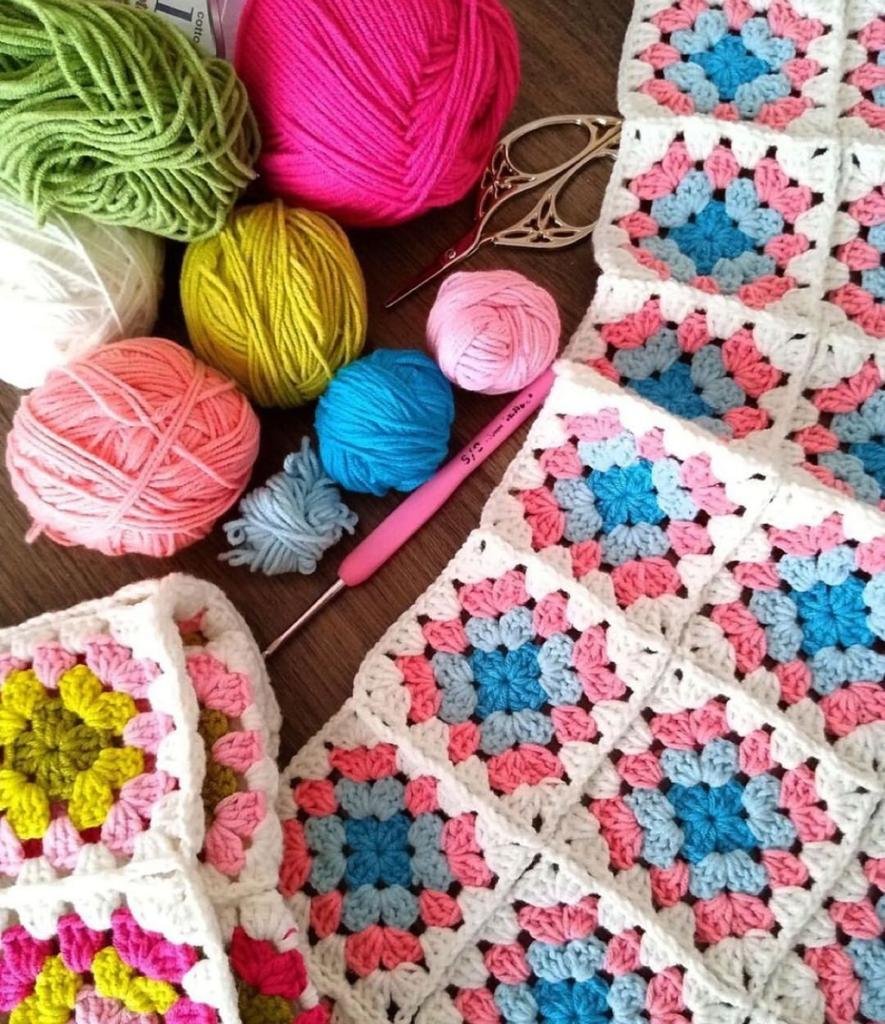
Basic Materials Needed:
Before we begin, let’s gather the basic materials you’ll need to get started on your granny square blanket:
Crochet hook (size appropriate for your yarn weight)
Yarn (choose multiple colors if desired)
Scissors
Tapestry needle for weaving in ends
Step 1: Start with a Slip Knot
Begin by making a slip knot on your crochet hook. This will serve as the starting point for your granny square.
Step 2: Chain 4
Next, chain 4 stitches. This will form the first side of your granny square.
Step 3: Join to Form a Ring
Insert your hook into the first chain stitch (the one farthest from the hook) and slip stitch to join, forming a ring.
Step 4: Chain 3 (First Double Crochet)
Chain 3 stitches, which will count as the first double crochet of the round.
Step 5: Work 2 Double Crochets into the Ring
Make 2 double crochet stitches into the center of the ring. This forms the first cluster of stitches for your granny square.
Step 6: Chain 2 (Corner Space)
Chain 2 stitches to create a corner space.
Step 7: Work 3 Double Crochets into the Ring
Make 3 double crochet stitches into the center of the ring, forming another cluster of stitches.
Step 8: Repeat Steps 6-7 Three More Times
Repeat steps 6 and 7 three more times, alternating between creating a corner space (chain 2) and making 3 double crochets into the ring to form clusters.
Step 9: Join with a Slip Stitch
Once you have completed all four sides of your granny square, join with a slip stitch to the top of the beginning chain 3 to close the round.
Step 10: Change Color (Optional)
If desired, you can change to a new color of yarn for the next round. Simply fasten off the current color and join the new color in any corner space with a slip stitch.
Step 11: Chain 3 (First Double Crochet)
Chain 3 stitches, which will count as the first double crochet of the round.
Step 12: Work 2 Double Crochets into the Same Corner Space
Make 2 double crochet stitches into the same corner space.
Step 13: Chain 2 (Corner Space)
Chain 2 stitches to create a corner space.
Step 14: Work 3 Double Crochets into the Same Corner Space
Make 3 double crochet stitches into the same corner space.
Step 15: Continue Around the Square
Continue working 3 double crochets, chain 2, 3 double crochets into each corner space around the square. Join with a slip stitch to the top of the beginning chain 3 to close the round.
Step 16: Repeat for Additional Rounds
Continue repeating steps 10-15 for each additional round of your granny square blanket. Each round will increase the size of your square and create a beautiful textured pattern.
Step 17: Fasten Off
Once your granny square blanket reaches the desired size, fasten off the yarn and weave in any loose ends using a tapestry needle.
Conclusion:
Congratulations! You’ve completed your very own granny square blanket. Whether you choose to make it in a single color or a colorful array of hues, your blanket is sure to be a cozy and cherished addition to your home.
Crocheting granny squares is a fun and versatile technique that can be adapted to create blankets, afghans, pillows, and more. So grab your crochet hook and yarn, and let your creativity soar as you crochet your way to warmth and comfort!